 Aveo Systems’ Mira Connect™ now supports Lightware MMX-series and Taurus UCX-series video switchers. Mira Connect controls video switching, and depending on the other equipment in the system, may directly control the output audio level and mute of the Lightware products.
In addition, through its network connection, Mira Connect can use the Lightware MMX devices to control other devices over RS-232 using Lightware RS-232 ports.
This article shows how to set up the Lightware MMX and Taurus UCX products with Mira Connect and how to add one or more RS-232-based VISCA cameras or a display controlled by Mira Connect through the Lightware MMX’s RS-232 interface.
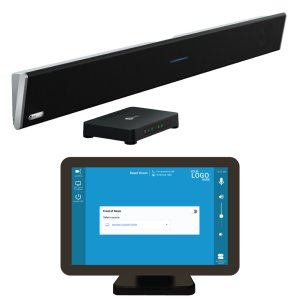
Mira Connect is an easy-to-set-up and easy-to-use audio-visual touchscreen and control system for conference rooms, huddle spaces, lecture halls, and other spaces. Mira Connect supports many different devices from displays, video switchers, DSP’s, video codecs, lighting systems, and more.
Video Switcher Applications
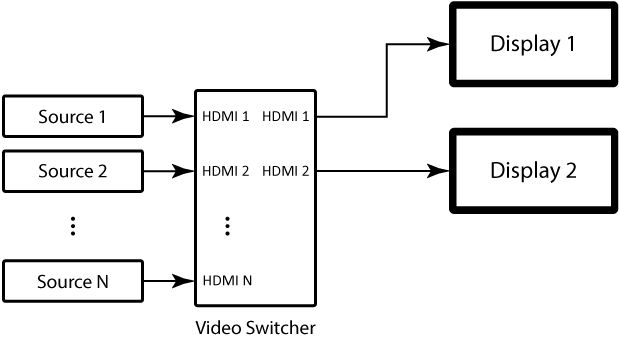
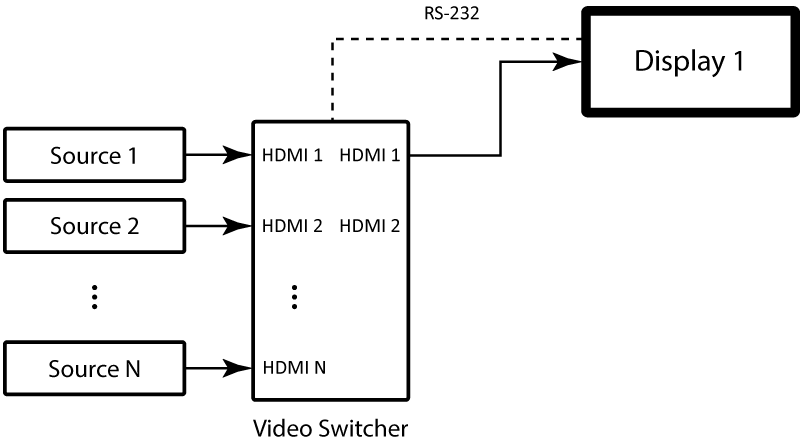
Lightware MMX and Taurus UCX video switchers can be used in many applications including traditional video switching of input sources to displays/projectors in the room, as shown in the following figure.
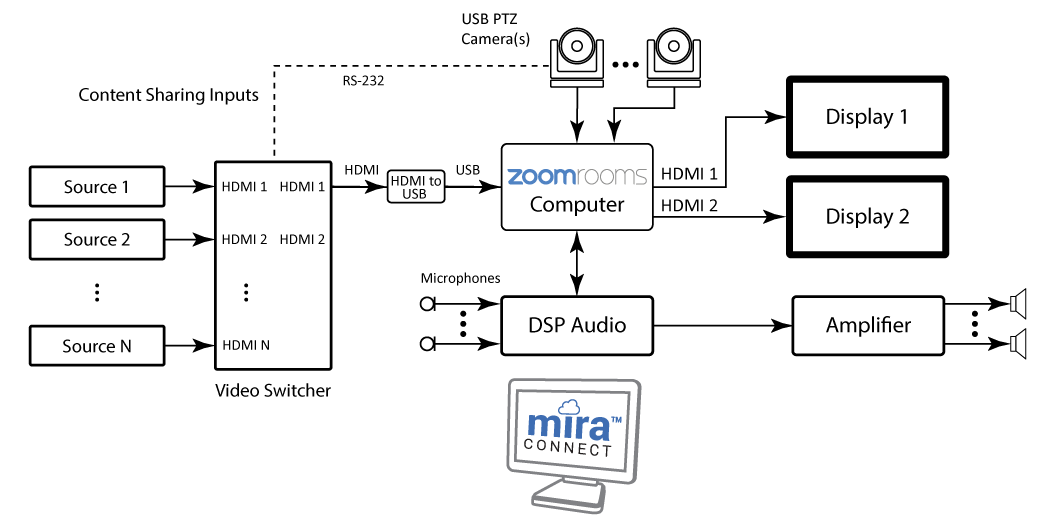
More advanced applications can include:
- switching different content source inputs to a video codec, or
- operating in split-and-combine rooms to support displays in multiple rooms, or
- other applications with more equipment including video switchers and DSP audio systems with microphones and conferencing capabilities
Mira Connect makes it easy to use Lightware MMX and Taurus UCX video switchers in any application.
Getting Started with Lightware MMX and Taurus UCX Video Switchers
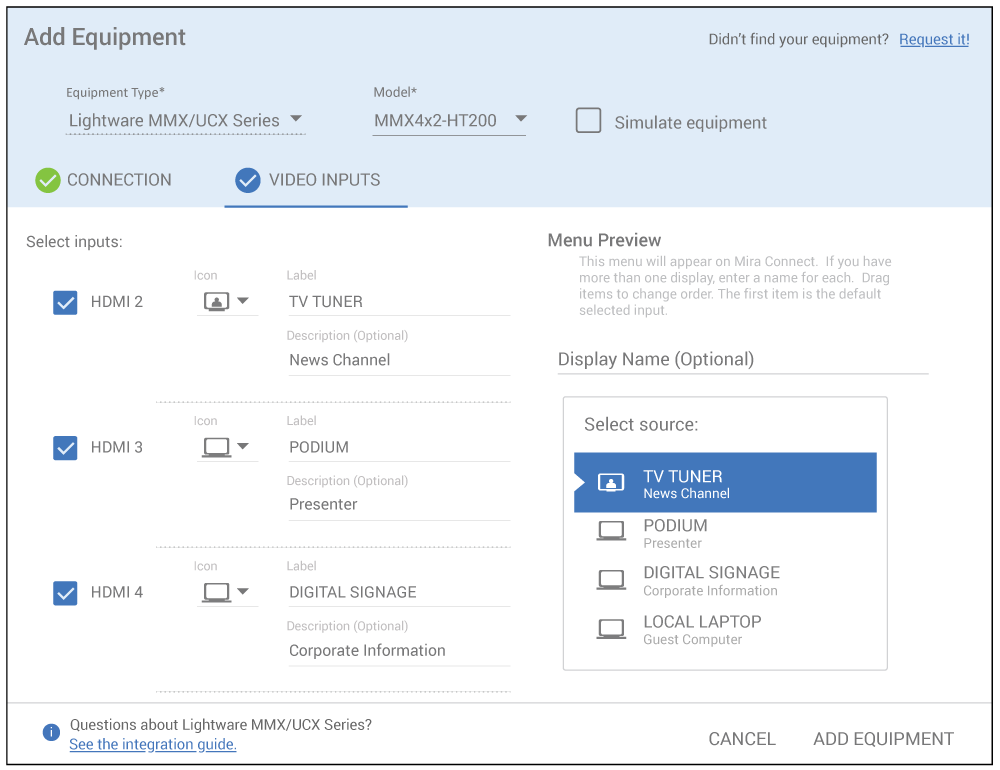
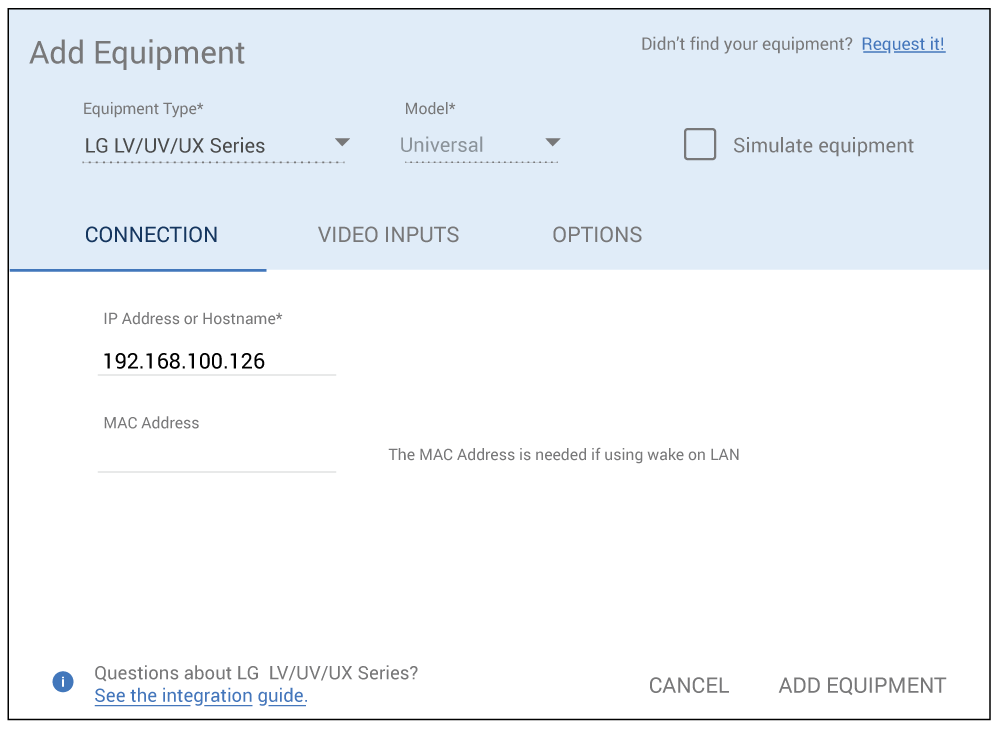
To start using Lightware MMX and Taurus UCX switchers with Mira Connect, log into Mira Portal, our cloud-based management platform for Mira Connect. Find the desired room within Mira Portal, choose Add Equipment and select ‘Lightware MMX/UCX Series.’ Enter the IP address of the video switcher and select the model. See our training videos for more information about how to get started with Mira Portal. You can simulate the equipment and continue configuring the Mira Connect system if you don’t have an actual Lightware MMX video switcher connected yet.

Next, enable the specific video inputs you’d like to have active, select an icon, and enter meaningful labels and optional descriptions. When done configuring the inputs, click Add Equipment to save them. The video switcher is now controlled by Mira Connect!
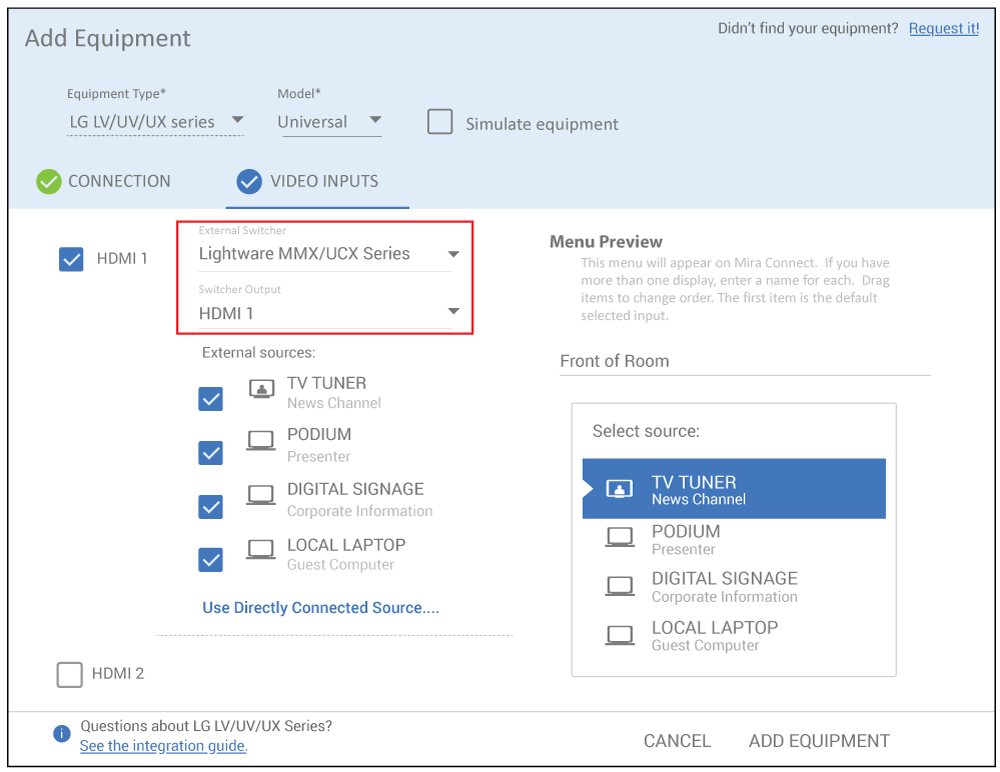
To connect the outputs of the video switcher to one or more displays, within Mira Portal: add a display to the room, enable an input on the display, and then click Use Sources Connected to Other Equipment. Select the Lightware MMX/UCX video switcher and the desired output to connect to the display. Click Add Equipment when done configuring the display. The display is now controlled by Mira Connect and integrated with the video switcher.
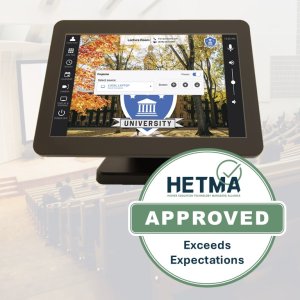
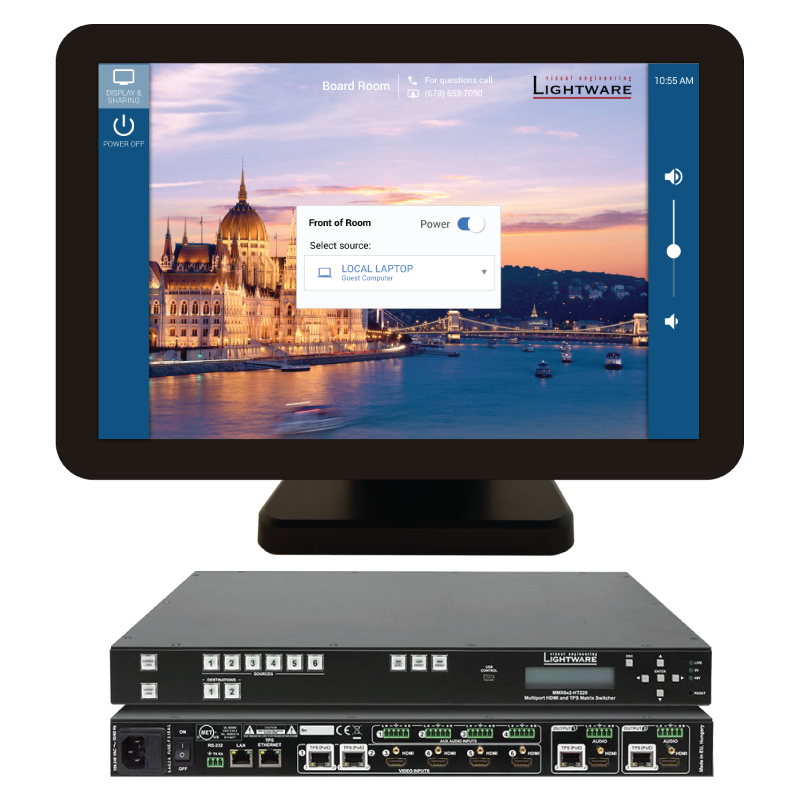
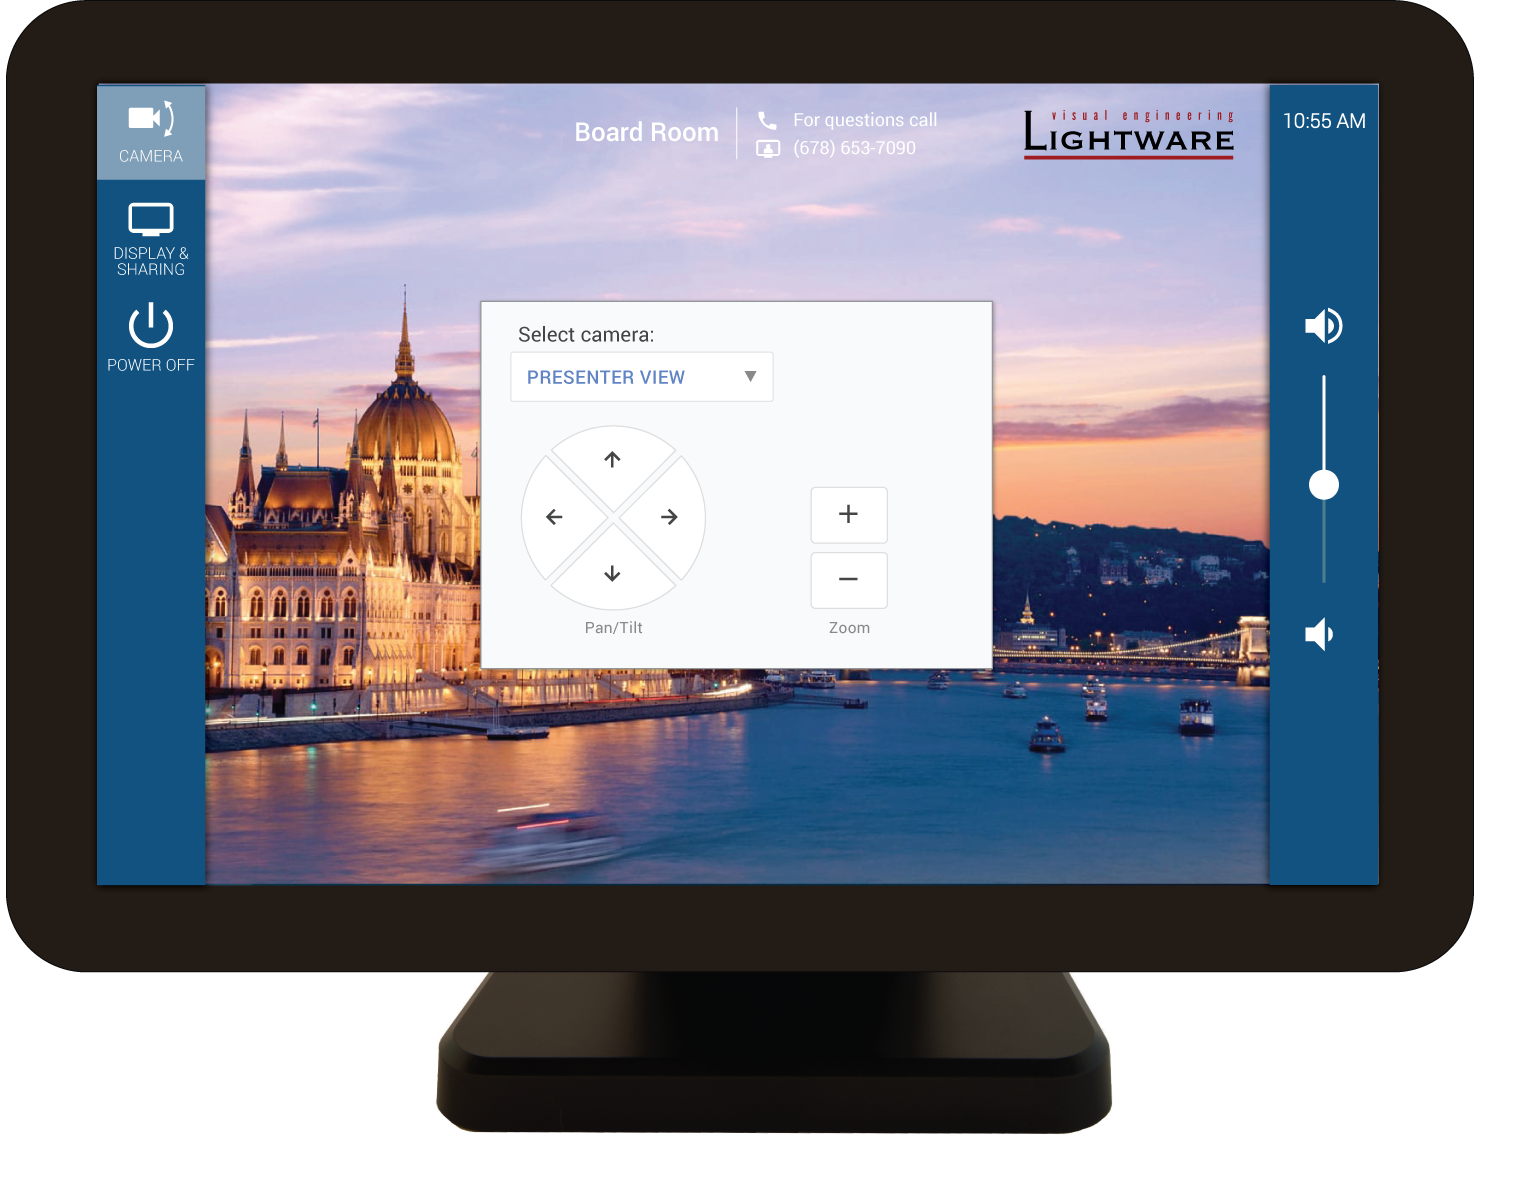
The resulting Mira Connect User interface is created, as shown in the following figure.
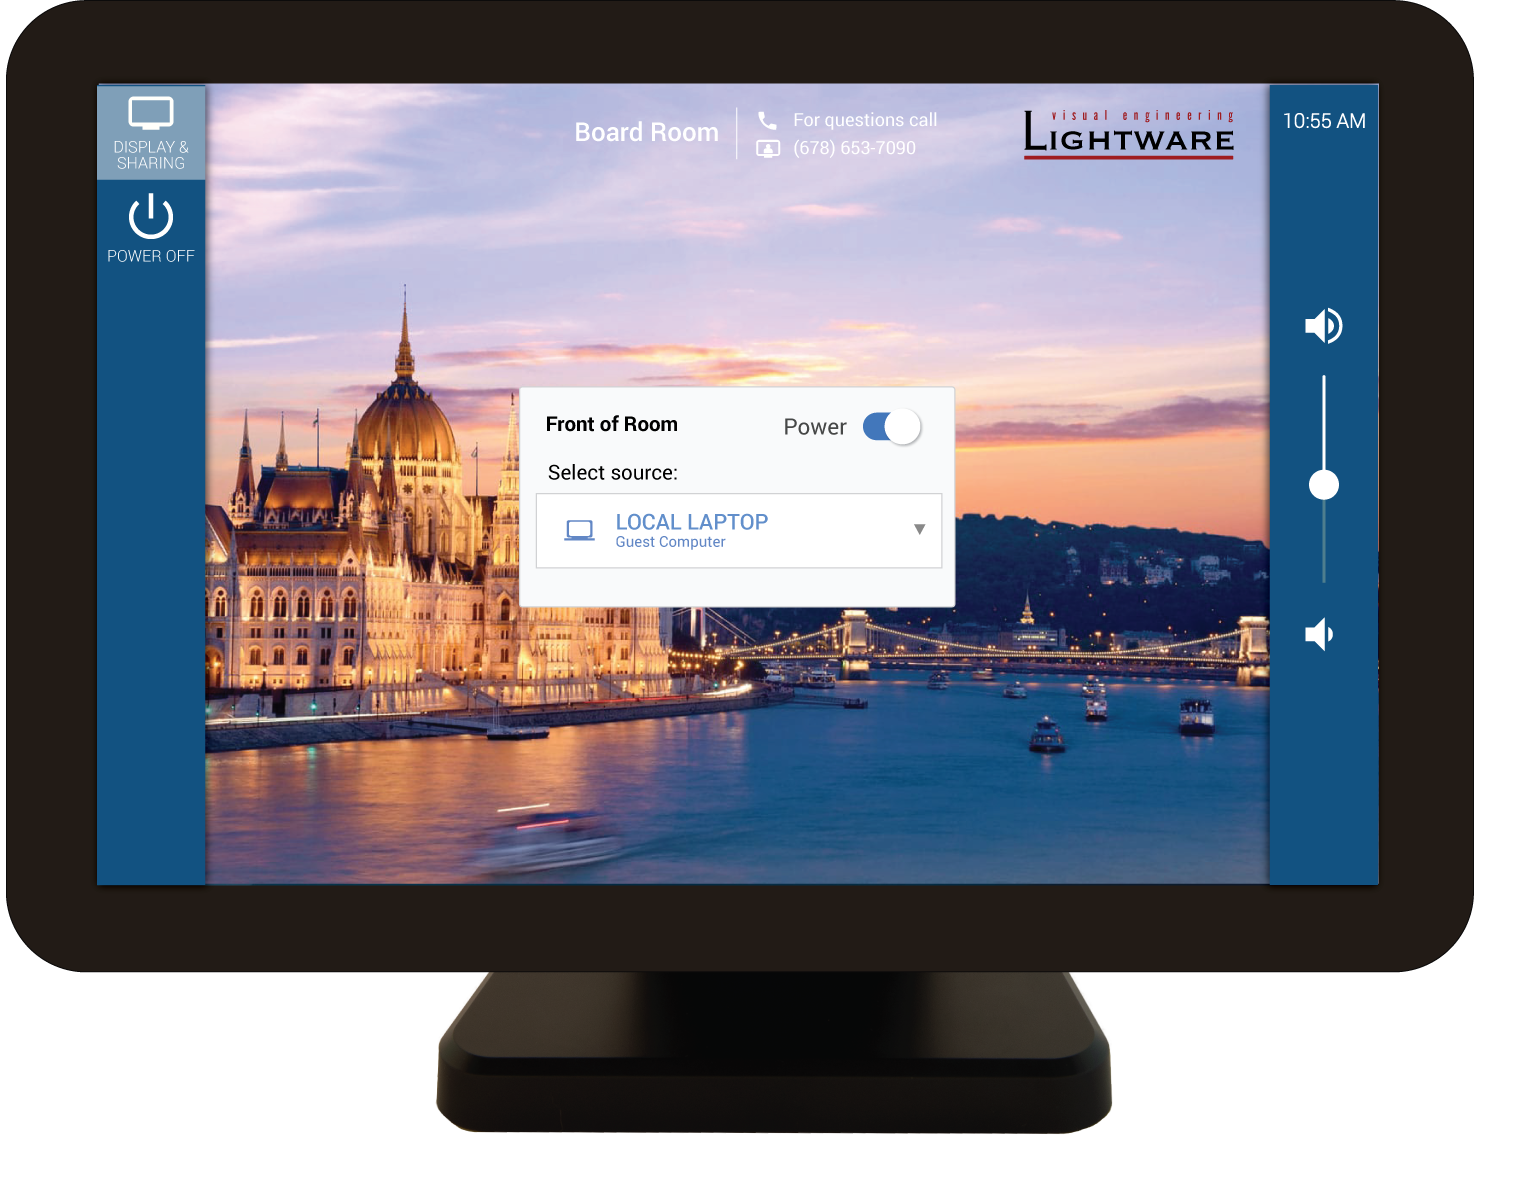
The display card controls the video source selection to the display and also shows the power control for the display. A volume slider with a simple system would control the display’s volume, or if the display didn’t support volume control, Mira Connect would control an analog output from a Lightware MMX video switcher.
In this example, a background image and logo have been pre-loaded using the Visual Theme settings for the site in Mira Portal.
The Power Off button allows a user to power down the room which will turn off displays, reset audio levels, and more. Room power-off can also be scheduled as described in the scheduled room power-off article.
For more information about controlling Lightware MMX and UCX matrix switchers with Mira Connect, see our Lightware integration guide.
Controlling VISCA cameras through the Lightware MMX
The Lightware MMX products have RS-232 ports that can be configured in command injection mode to send commands to other devices. This mode allows Mira Connect to send commands to the video switcher over the network and have the switcher forward those commands to an RS-232 port and also send information from the RS-232 interface back to Mira Connect. This is very convenient when you need to control another device over RS-232 and don’t want to add a separate Ethernet-to-serial interface to the system.
 To control a device over RS-232 through the Lightware MMX device, use the Lightware Device Controller software to set the RS-232 port mode on the Lightware to command injection mode and set the baud-rate to match the device you’d like to control. For VISCA cameras controlled over RS-232, the RS-232 settings will typically be 9600 N81. See the figure below that shows how the settings should appear in the Lightware Device Controller software. See our RS-232 best practices article for more information about working with RS-232 interfaces.
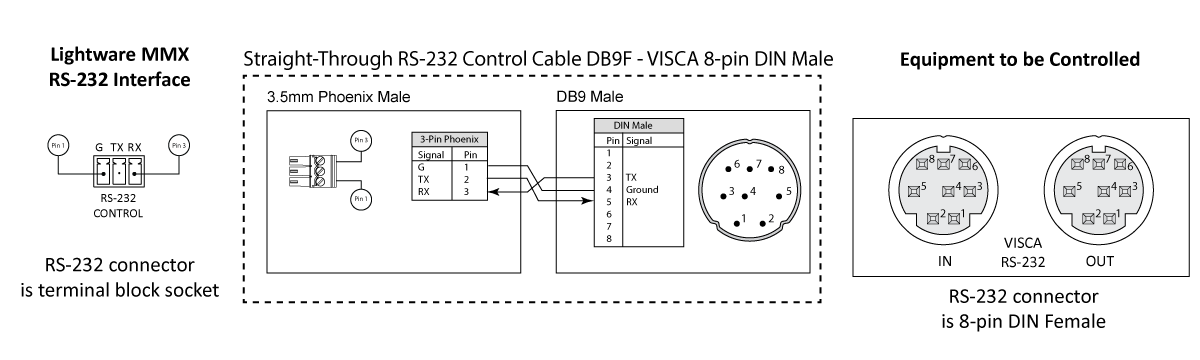
Next, connect the RS-232 port to the first VISCA camera’s RS-232 In port using an RS-232 cable, as shown below. This connects the transmit (TX), receive (RX), and ground pins from the Lightware RS-232 port to the RX, TX, and ground pins, respectively, of the VISCA camera.
Finally, add the VISCA camera to the room in Mira Portal using the same IP address as the Lightware MMX matrix switcher and use the port number from the Lightware RS-232 settings. (In this example, port 8001)

If the RS-232 port has been wired correctly and the baud-rate set to match the camera’s settings, Mira Connect will connect to the camera and show the ‘Connected’ status with a green check mark in Mira Portal.
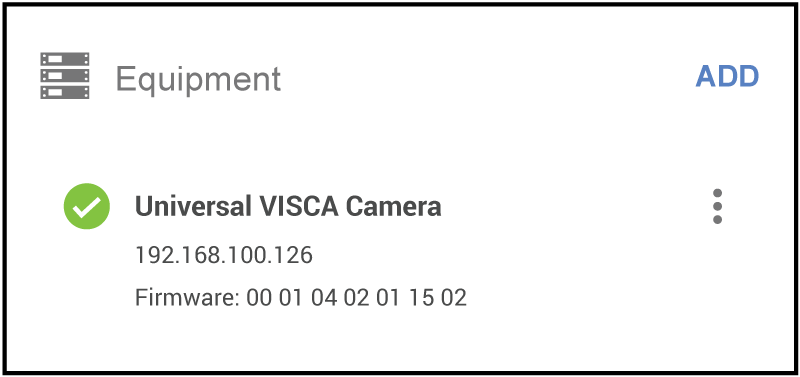
The user interface of Mira Connect will be updated to add the camera icon that users can select to access the camera user interface. Camera presets can also be defined in Mira Portal to make it easier for users in the room to move the camera.
Up to seven (7) VISCA cameras can be daisy-chained together over RS-232. See our VISCA camera integration guide for more information about setting up VISCA cameras including presets, adjusting movement sensitivity, reversing panning directions, naming the camera, and integrating with Zoom Rooms systems.
Using the Lightware MMX RS-232 Port to Control Displays
If you’d like to control a display or other device over the RS-232 port of the Lightware MMX system, use the IP address of the Lightware MMX and set the port number to 4999 in the Lightware Device Controller software. Using port 4999 will allow Mira Connect to connect just like it would connect to a serial-controlled device using a Global Caché IP2SL (which uses port 4999).
If you are controlling a display that requires Wake-on-LAN to power on, see our Wake-on-LAN article.
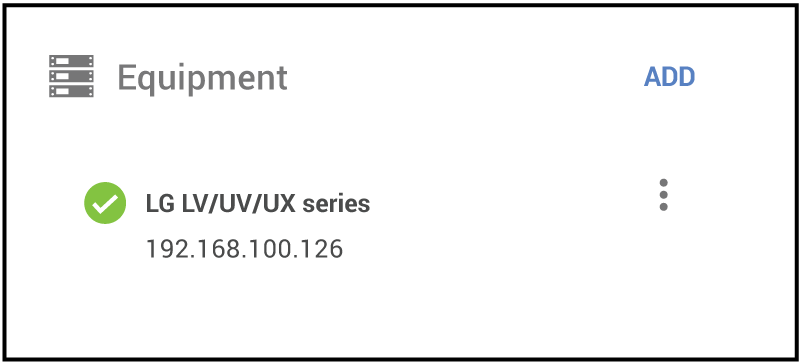
Once Mira Connect connects to the display, the display’s status in Mira Portal will show a green check mark, as shown in the following figure.
From the examples in this article, you can see how Mira Connect can be set up in minutes without requiring any programming, allowing more partners to successfully configure their Mira Connect control system. Mira Connect generates a consistent and user-centered interface, that makes it easy to control Lightware MMX and Taurus UCX video switcher products, and much more. With our Mira Connect Me touchless AV control and remote control features, now users can control their Lightware MMX and UCX products from anywhere in the room or anywhere else.
Mira Connect is an A/V control system that control displays, audio processors, projectors, cameras, video codecs (including Zoom Rooms), video switchers, lighting systems, and much more — all without the need for custom programming. Enter the equipment in a ‘room’ created in Mira Portal, pair the ‘room’ with a Mira Connect touchscreen, and a professional user interface is immediately created.
To learn more, go to Aveo Systems or contact us for a consultation/demo.