Aveo Systems’ Mira Connect™ offers many capabilities, one of which is remote control of a room’s systems, including control of the AV equipment. This article explains the Mira Connect Remote Control feature, describes how to access it in Mira Portal, and shows how to give permissions to others so that they can also access Remote Control.
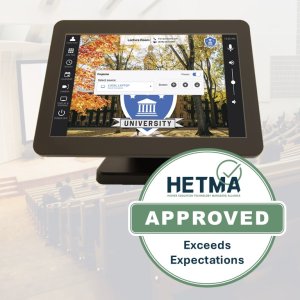
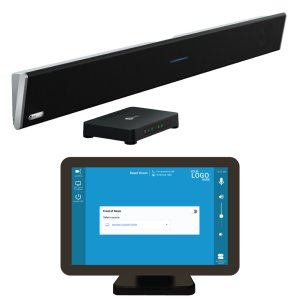
Mira Connect is an easy-to-set-up and easy-to-use audio-visual touchscreen and control system for conference rooms, huddle spaces, lecture halls, and other spaces.
Mira Connect does not require any programming to set up and is configured using Mira Portal, our cloud-based management platform. Once a room, along with equipment and control points, has been created in Mira Portal, the platform automatically generates a user interface based on these settings. The user interface shows up on the Mira Connect touchscreen as soon as the device is paired to the room created within Mira Portal.

Mira Connect Remote Control in a Browser
Mira Connect Remote Control is designed for the AV/IT partner or technical end user who wants frequent access to the Mira Connect user interface without having to be in the room.
For integration partners who are working remotely on a system, Remote Control is the perfect way to see how the Mira Connect user interface updates as the partner adds new features or equipment within Mira Portal. Partners can configure the system using Mira Portal in one tab of their browser and see those changes automatically in a Remote Control tab. Reducing the number of trips required on-site saves precious time and reduces expenses.

Another common use for Remote Control is for IT and AV staff who want to control their systems from afar or want to be able to provide room assistance from their offices or from anywhere. This is ideal for organizations with rooms on multiple floors or in multiple buildings.
NOTE: Access to the Remote Control feature requires that users have a Mira Portal account and have permissions for the organization or site.
Before we continue on with Remote Control through Mira Portal, we’ll briefly mention our Mira Connect Me touchless control feature that is specifically designed for users that are physically located in a room with a Mira Connect touchscreen and who prefer not to touch the Mira Connect or who want room control from anywhere within the room from their personal devices.
Mira Connect Me offers users quick, easy, and temporary access to a Mira Connect user interface on their personal devices while in the room.
Mira Connect Me can be enabled for all rooms within a site by an authorized Technical user or Administrator in Mira Portal. Once enabled, a room user simply needs to scan a QR code that will appear on the Mira Connect touchscreen, and within seconds, the Mira Connect user interface will show up on their personal device.
With Mira Connect Me, room users do not need to log into Mira Portal, nor do they need to download any applications on their personal devices. They just need WAN access to a browser.
See this Mira Connect Me article for further details on using and setting up Mira Connect Me.

OK, let’s get back to Remote Control.
Once a Mira Connect is paired to a room in Mira Portal, Mira Connect Remote Control is immediately enabled, and partners and end users with Mira Portal login access can securely control their systems from anywhere using their web browser.
NOTE: A user in the room with a Mira Connect touchscreen and a Remote Control user can BOTH control the room AT THE SAME TIME. In addition, there can be multiple Remote Control sessions active concurrently.
How To Access Remote Control in Mira Portal
To access Remote Control, log into Mira Portal and select the desired room on your Mira Portal dashboard. In this example, we’ve selected the room named Board Room.

Next, on the lower left of your Mira Portal dashboard, you’ll see the room summary with the Remote Control button as shown below.
NOTE: If the Remote Control button is grayed out, then either a Mira Connect has not been paired to the room yet or it is not connected to Mira Portal via the wide-area-network (WAN). See our training videos for how to pair a Mira Connect to the room.
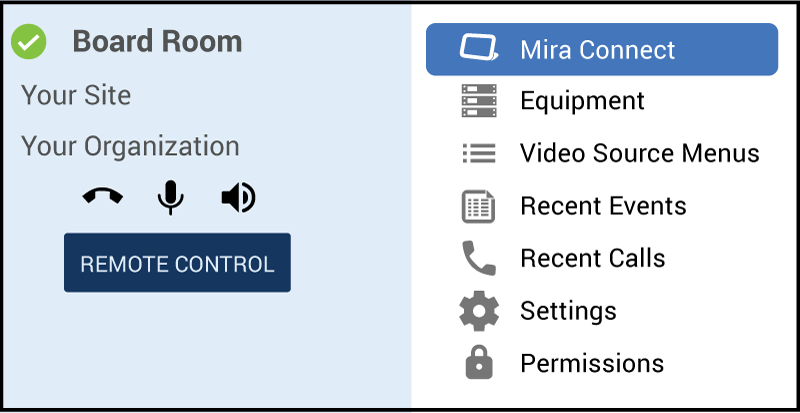
Click the Remote Control button to launch the Mira Connect user interface in your browser. The URL is unique to your room.

Saving the Remote Control URL to your Mobile Device
Once you have the room’s unique Remote Control URL, you can save it as a shortcut on your mobile device for future quick access. Only users who have a Mira Portal account and permissions on the room can use this link. Saving the remote control URL makes it easy to have additional dedicated touchscreens in a room with the user interface of the room shown via Remote Control.
On an Apple iPhone or iPad, you can follow these steps to save the URL as a shortcut.
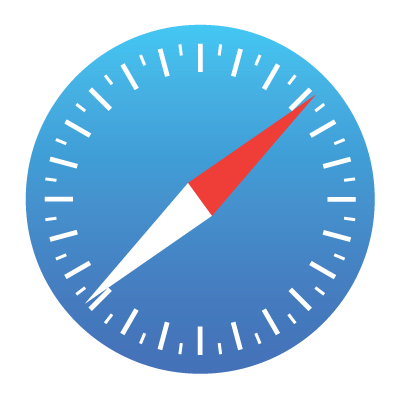
- Launch Safari
- Enter the URL of the remote control room.
- Tap the Share icon at the bottom of the screen.

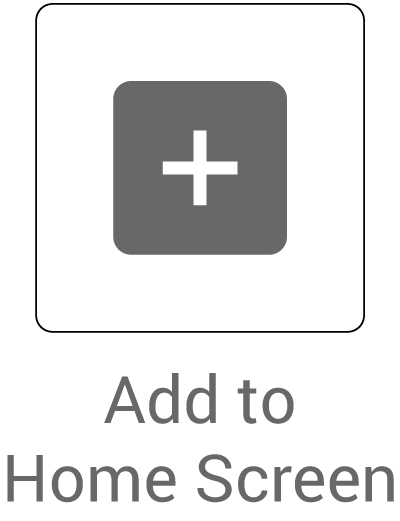
- Scroll down to the list of actions and tap Add to Home Screen.
This creates a new icon on your Apple device that you can easily use to launch the Remote Control for that room.
Granting Remote Control Access to other Users
![]() Access to Mira Portal requires a Mira Portal account username and password. Mira Portal uses permissions and user accounts to enable secure access to your organizations, sites and rooms.
Access to Mira Portal requires a Mira Portal account username and password. Mira Portal uses permissions and user accounts to enable secure access to your organizations, sites and rooms.
Mira Portal account holders who have Administrator, Technical, or Help Desk permissions on an organization or site can use the Remote Control feature to access the user interface of the rooms in those sites.
For more information about permissions, see the Mira Connect Administrators Guide.
Help Desk permission provides a user with Remote Control capability only. This is the permission level that most end users like to have.
Technical permission allows a user to use the Remote Control feature AND gives them the ability to make changes to the equipment settings, add/delete rooms, and pair and unpair Mira Connect devices to the room.
Administrator permission includes all Technical permission capabilities, PLUS they have the ability to grant permissions to other Mira Portal account holders. By default, the user who created the organization is the Administrator. There can be more than one administrator.
To assign Help Desk permission (i.e. Remote Control capability only) to a user, that user must first have a Mira Portal account. Once they have an account, an Administrator can grant Help Desk permission in Mira Portal for that user by following these steps:
- Select the desired organization (or site for site-only permissions).
- Select Permissions.
- Click ADD to bring up the ‘Add Permissions’ window.
If you don’t see the ADD button, you are not an Administrator on this organization or site and cannot add permissions.
- Enter the desired user’s Mira Portal login name in step 4 as shown in the figure below.
- Select Help Desk permissions.
- Click ADD PERMISSIONS.
The organization will appear automatically on the user’s Mira Portal dashboard where they can select the desired room and launch Remote Control.

Follow these same steps to change the permission level of a Mira Portal account – i.e., granting more access with Technical and Administrator permissions.
Creating Your Own Remote Control Dashboard
You can use the Remote Control URL in other applications or tools that you already use to launch the Remote Control feature, OR you can build your own dashboard as an HTML page with access to multiple Remote Control rooms from one location. A personal dashboard makes it easy to launch the Remote Control for all the rooms that you manage.
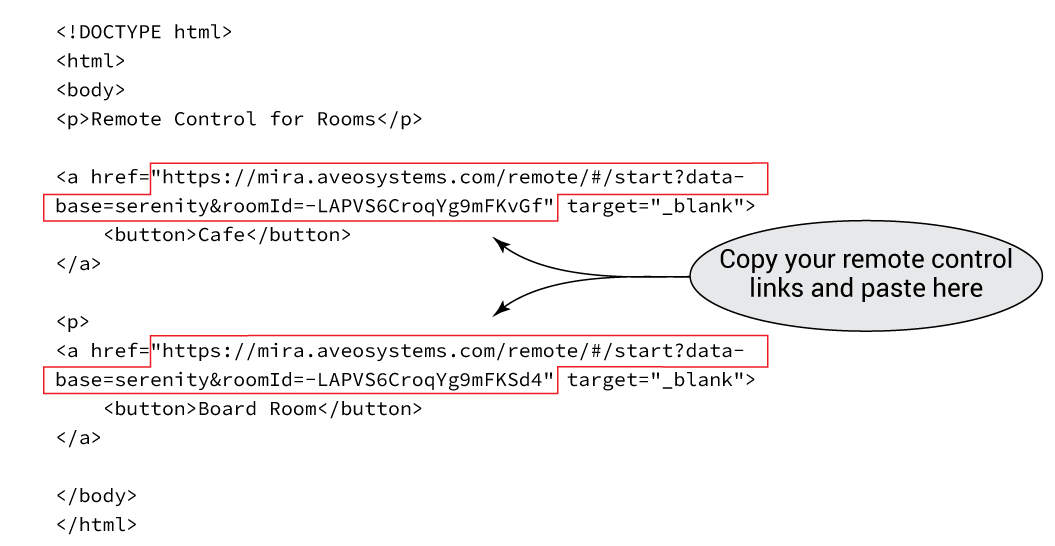
To build a simple dashboard, you can use the <button> command in HTML to create buttons with links to the Remote Control URLs of different rooms, as shown in the following code. Simply paste your Remote Control URL’s into the href field to build your own dashboard.
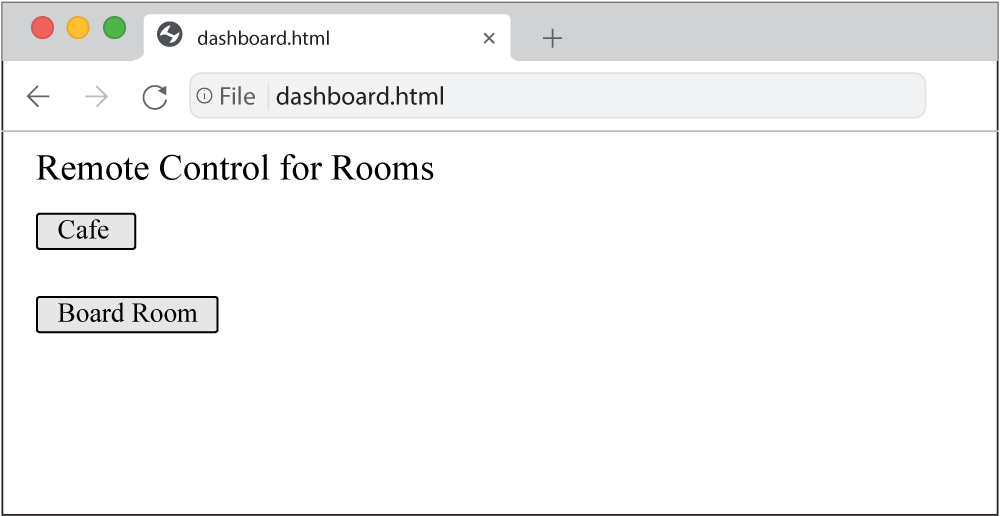
When this file opens in your browser, this HTML file will appear as shown in the following figure. Clicking the buttons will launch Remote Control sessions that open in new tabs.
Understanding Network Requirements for Remote Control
To use Mira Connect Remote Control, the Mira Connect device in the room needs to have WAN access so it can securely access Mira Portal. Once Mira Connect is connected to Mira Portal, the Remote Control button will appear automatically on Mira Portal for that room.
Remote Control users also need to have WAN access so that their browsers can reach Mira Portal. Users do not need access to the local AV network in order to remote control their Mira Connect systems from their browsers.
For more information about network requirements for Mira Connect, see our Network Considerations Guide.
In Conclusion
We hope this article provides you with a better understanding of what Mira Connect Remote Control does and how to set it up for yourself and for others.
The Remote Control feature, as well as Mira Connect Me touchless AV control, are available to all users with Mira Portal Essentials or Enterprise service.
Twelve months of Enterprise service (the highest service level) are included in the Mira Connect purchase price, allowing users to experience all advanced features for a full year.
If you have any questions about it or would like a demonstration, please contact us at AveoSystems.com.