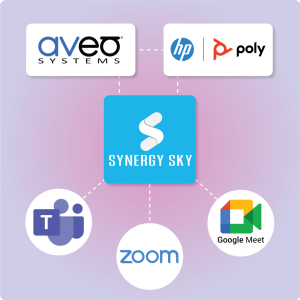
Now, with Aveo Systems’ Mira Connect and just a few clicks of your mouse, you can create a control system with a dialer, and much more, for Symetrix DSPs.
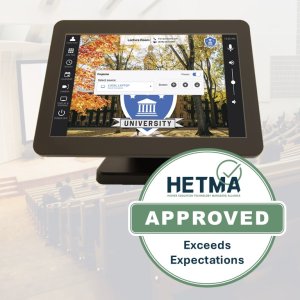
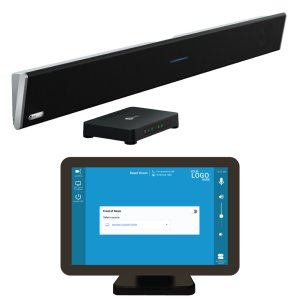
Mira Connect is a smart touchscreen control appliance that can control hundreds of audiovisual products, including video switchers, displays, cameras, and more. Integration partners can quickly set up a Mira Connect using Mira Portal, our cloud-based management platform. Once configured, the Mira Connect user interface is immediately created. Users can dial audio and video calls with one-touch, integrate Mira Connect with an Office 365 Calendar, remotely manage their conference room, customize their Mira Connect screen with their own branding, and more.
Here’s the rundown on how you would set up a Symetrix DSP in Mira Portal.
Getting Started
To integrate with Mira Connect, use Symetrix’s Composer software to customize your Symetrix DSP. Define control number assignments you want for mute, volume control, and for your telephony interfaces. You can use VoIP or POTS telephony interfaces with your Symetrix DSP – it doesn’t matter.
Ensure the mute, volume, and telephone control parameters you defined have the “Enable Push” setting active in Composer. You can verify this using the Control Manager and making sure there is a “Yes” in the Push column. Be sure you Go On-Line (Push Design To Hardware) or press F4 after making any changes in Composer.
Once the Symetrix DSP is running your configuration file, pair your Mira Connect with the room you’ve created in Mira Portal. Haven’t created a room yet? Log in to Mira Portal (https://mira.aveosystems.com) where you can add an organization, a site to the organization, and a room to the site.
Pair the Mira Connect to the room by following the steps shown on Mira Connect for setting the language, selecting a network, and getting a pairing code. Enter the pairing code number from Mira Connect into Mira Portal.
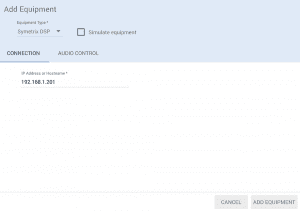
Add the Symetrix DSP to the room from the Equipment line and enter its IP address, and then press ADD EQUIPMENT.
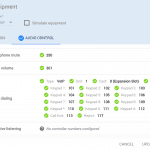
Next, edit the Symetrix DSP to enter control numbers that you defined in your Symetrix configuration file and press UPDATE EQUIPMENT. After selecting your telephony interface, you can start with the first controller number, and Mira Portal can add the rest of the controller numbers into the configuration.
If you want to testdrive Mira Connect without an actual Symetrix DSP, you can do so.
- Check the ‘Simulate Equipment’ box.
- Use control numbers 250 for the Microphone Mute and 301 for the Volume Control.
- Use the telephony control points starting with 101 for keypad digit 1.
 If you entered the control numbers that match the configuration file, Mira Connect will update to become a controller for your Symetrix DSP. If you need to make changes, edit the Symetrix DSP again.
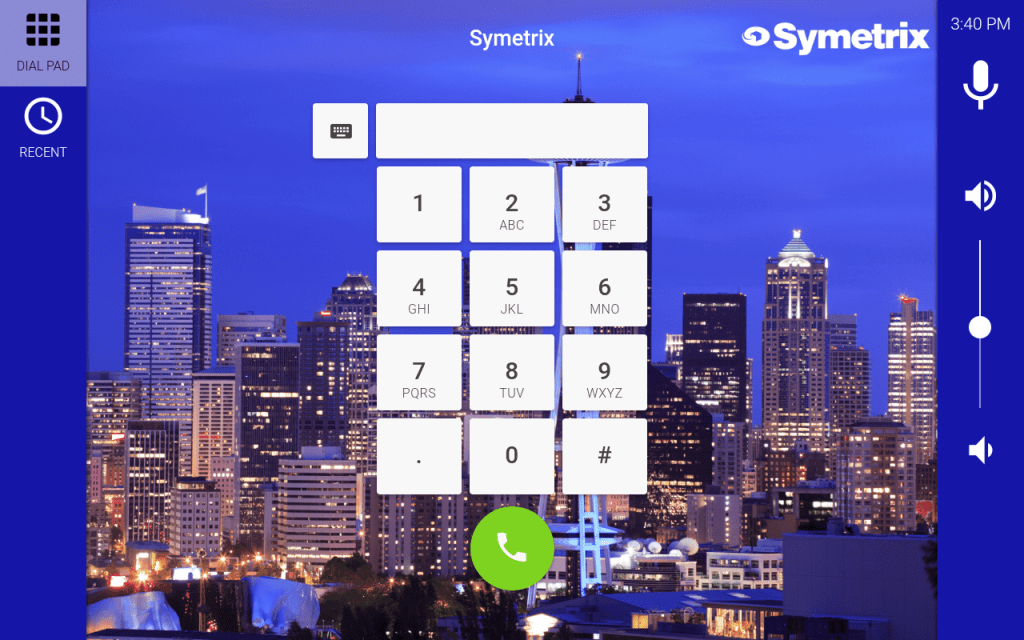
Customize the Mira Connect screen
You can edit the site’s Visual Theme to customize the background image, add a logo, and customize the colors. Here’s an example of how you can customize your screen:
See the integration document on our website for further details on how to control Symetrix DSPs with Mira Connect.
You can also check out our short training videos to learn more.